Windows 10 IoT Core on Raspberry Pi 3
Following up on my last post, finally got around to trying to install IoT Core on my actual Raspberry Pi device:
My development machine is a 15" Macbook Pro running OSX High Sierra (10.3.2). Wasn't able to get a Windows 10 VM in VirtualBox to recognize the SD card slot in my adapter (the otherwise fantastic Satechi type-C multi-port adapater), so started looking for how to flash the image without using IoT Core Dashboard.
ffu2img (https://github.com/t0x0/random/wiki/ffu2img) can be used to convert the ffu to an img file usable with dd found on OSX (and Linux, etc.).
Ensure you're using Python 2.7 and convert the image:
I had trouble getting those instructions to work with my card/reader. No matter what, dd failed with "Operation not permitted". In the end I had to:
Using df can see several partitions were created (/dev/disk2s1, disk2s2, disk2s3, and disk2s6) on the SD card. Once inserted in the Raspberry Pi device and powered on, IoT Core should boot.
My development machine is a 15" Macbook Pro running OSX High Sierra (10.3.2). Wasn't able to get a Windows 10 VM in VirtualBox to recognize the SD card slot in my adapter (the otherwise fantastic Satechi type-C multi-port adapater), so started looking for how to flash the image without using IoT Core Dashboard.
Image Preparation
Microsoft has some docs about using dism instead of Dashboard. From the IoT Core download page you can obtain an iso file containing an msi that by default installs the image to: C:\Program Files (x86)\Microsoft IoT\FFU\RaspberryPi2\flash.ffu
ffu2img (https://github.com/t0x0/random/wiki/ffu2img) can be used to convert the ffu to an img file usable with dd found on OSX (and Linux, etc.).
Ensure you're using Python 2.7 and convert the image:
python ffu2img.py PATH/flash.ffu
Writing Image to SD Card
To write the image to an SD card I consulted the documentation at raspberrypi.org.I had trouble getting those instructions to work with my card/reader. No matter what, dd failed with "Operation not permitted". In the end I had to:
- Insert card into reader and connect reader to laptop
- Without unmounting the SD card, run:
sudo diskutil partitionDisk /dev/disk2 1 MBR "Free Space" "%noformat%" 100% - Disconnect then reconnect the reader (above command seemed to eject the SD card)
- Write the image:
sudo dd bs=1m if=PATH/flash.img of=/dev/rdisk2 conv=sync
In my case, the SD card is /dev/disk2. /dev/disk2 and /dev/rdisk2 in the above commands should be adjusted appropriately for other cases.
IoT Core Setup
As it happens, I didn't have a USB keyboard on hand to get the device on the wifi.
Using an ethernet cable to connect the device directly to my laptop, I obtained the device's link-local address from the bottom-left of the touch screen. The device's admin portal is now accessible by pointing my laptop browser at http://169.254.236.118:8080 (default username/password is Administrator/p@ssw0rd).
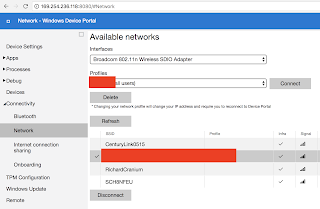
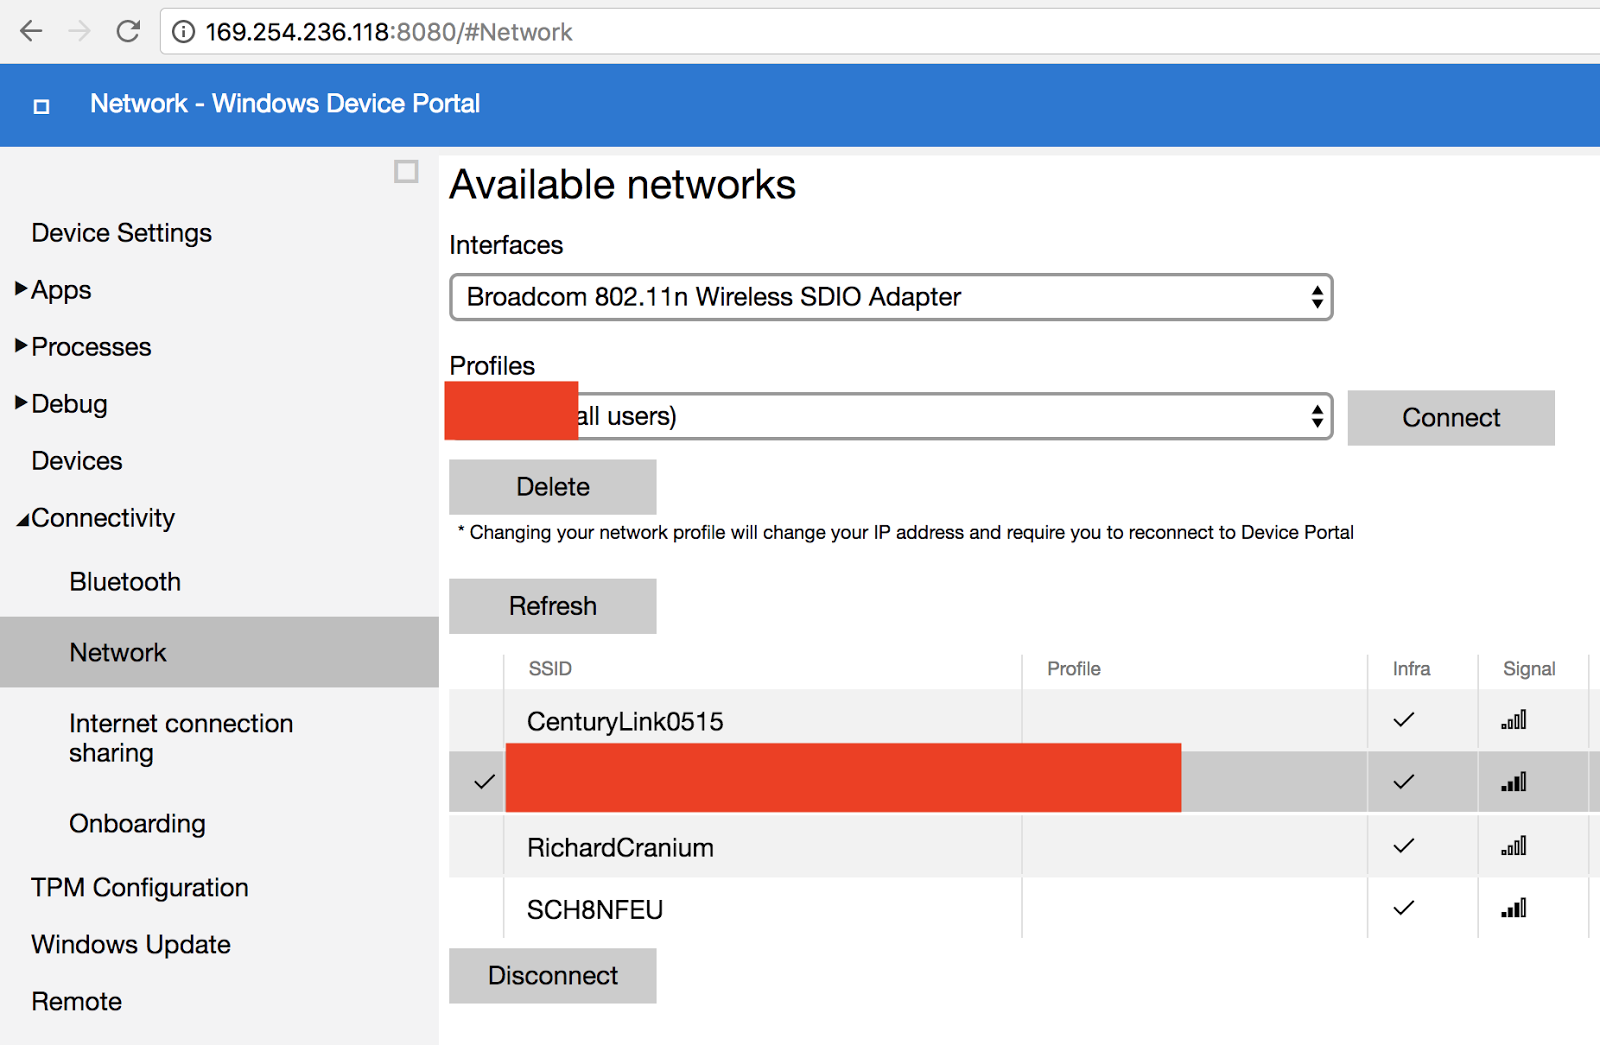
In the left panel, selecting Connectivity, then Network, you can configure the wifi AP:
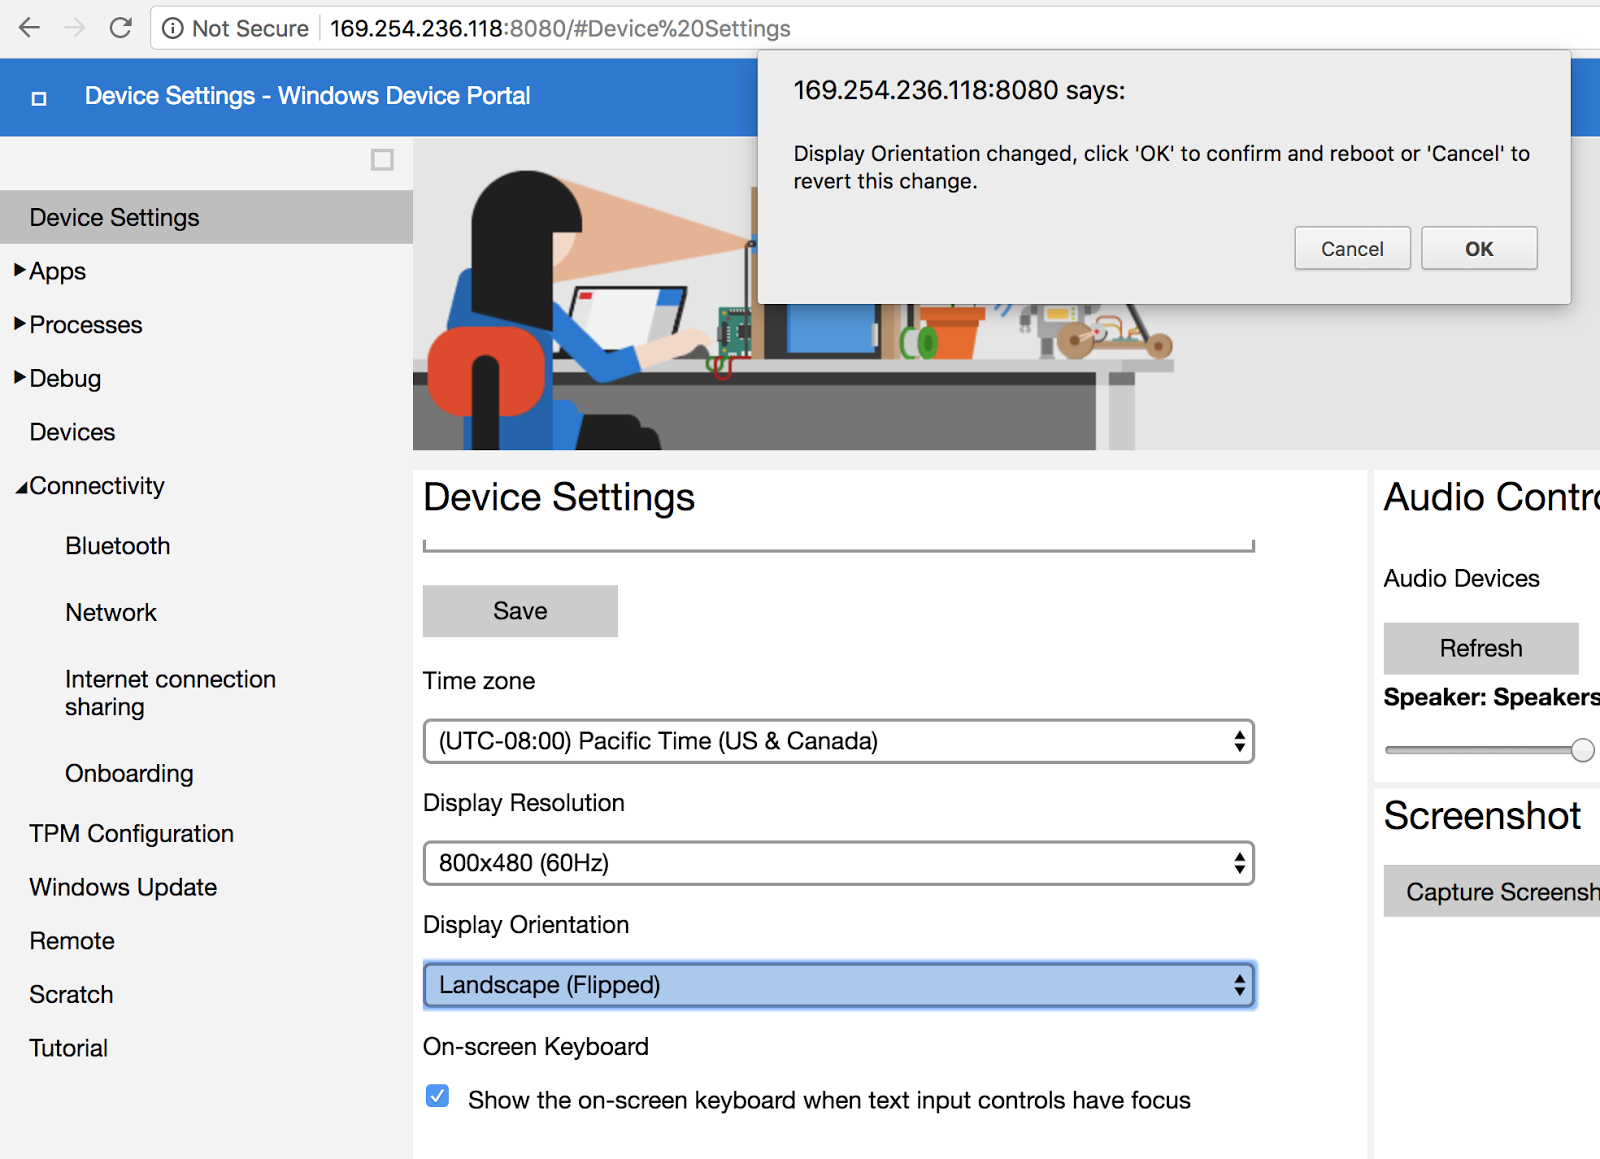
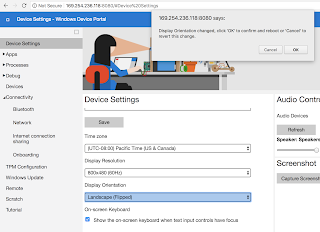
Initially the display was upside-down (assuming the HDMI port is "up" as when using this touchscreen case). To fix this, in the left panel pick Device Settings and towards the bottom in Display Orientation select "Landscape (Flipped)":
Using an ethernet cable to connect the device directly to my laptop, I obtained the device's link-local address from the bottom-left of the touch screen. The device's admin portal is now accessible by pointing my laptop browser at http://169.254.236.118:8080 (default username/password is Administrator/p@ssw0rd).
In the left panel, selecting Connectivity, then Network, you can configure the wifi AP:
Initially the display was upside-down (assuming the HDMI port is "up" as when using this touchscreen case). To fix this, in the left panel pick Device Settings and towards the bottom in Display Orientation select "Landscape (Flipped)":